How to Cut and Sew a Straight Skirt (Beginner-Friendly Guide)
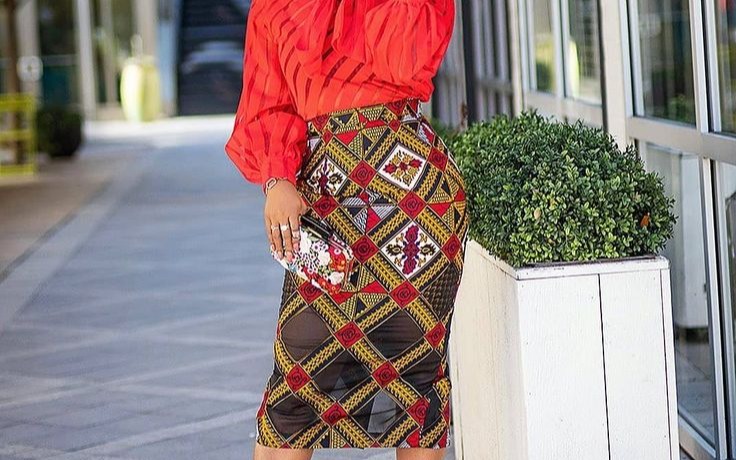
Fashion designing is a journey, not a race. At Dinat Signature, we believe every great designer starts by mastering the basics. One of the most important foundation garments is the straight skirt. This tutorial is written for beginners, fashion students, and anyone who wants to understand skirt cutting clearly and professionally.
A straight skirt is one of the most essential garments every fashion beginner should master. It forms the foundation for many designs and helps you understand measurements, fitting, and neat finishing. In this guide, I’ll walk you through how to cut and sew a straight skirt step by step, using simple methods suitable for beginners, based on practical tailoring techniques.
Materials Needed
Fabric (according to your skirt length and hip size)
Measuring tape
Tailor’s chalk or pencil
Pattern paper or fabric for drafting
Scissors
Pins
Sewing machine
Needle and thread
Waistband fabric or elastic (optional)
Key Measurements Required
Before cutting, take accurate body measurements:
Waist circumference
Hip circumference
Waist to hip length
Waist to knee length
Full skirt length
Always measure on the body while standing straight and comfortably.
Step 1: Prepare the Fabric
Iron your fabric properly before cutting. Fold it lengthwise with the right sides facing each other. The folded edge represents the center line of the skirt.
If you plan to add a waistband, allow 2 inches at the top of the fabric. All vertical measurements will start after this allowance.
Step 2: Draft the Vertical Measurements (Vertical Measurement)
From the top of the fabric (or after the waistband allowance):
Mark the waist line
Measure down to mark the hip line
Measure further down to mark the knee line
Measure down to mark the full length of the skirt
Draw horizontal lines across at each point.
Illustration note: These lines are labelled waist, hip, knee, and full length in the sketch.
Step 3: Calculate the Width Measurements
Waist Line
Divide your waist measurement by 4
Add 2 inches for sewing allowance
Hip Line
Divide your hip measurement by 4
Add 2 inches for sewing allowance
Mark these measurements horizontally from the folded edge at the waist and hip lines.
Example:
Waist: 36 ÷ 4 = 9 + 2 inches allowance
Hip: 40 ÷ 4 = 10 + 2 inches allowance
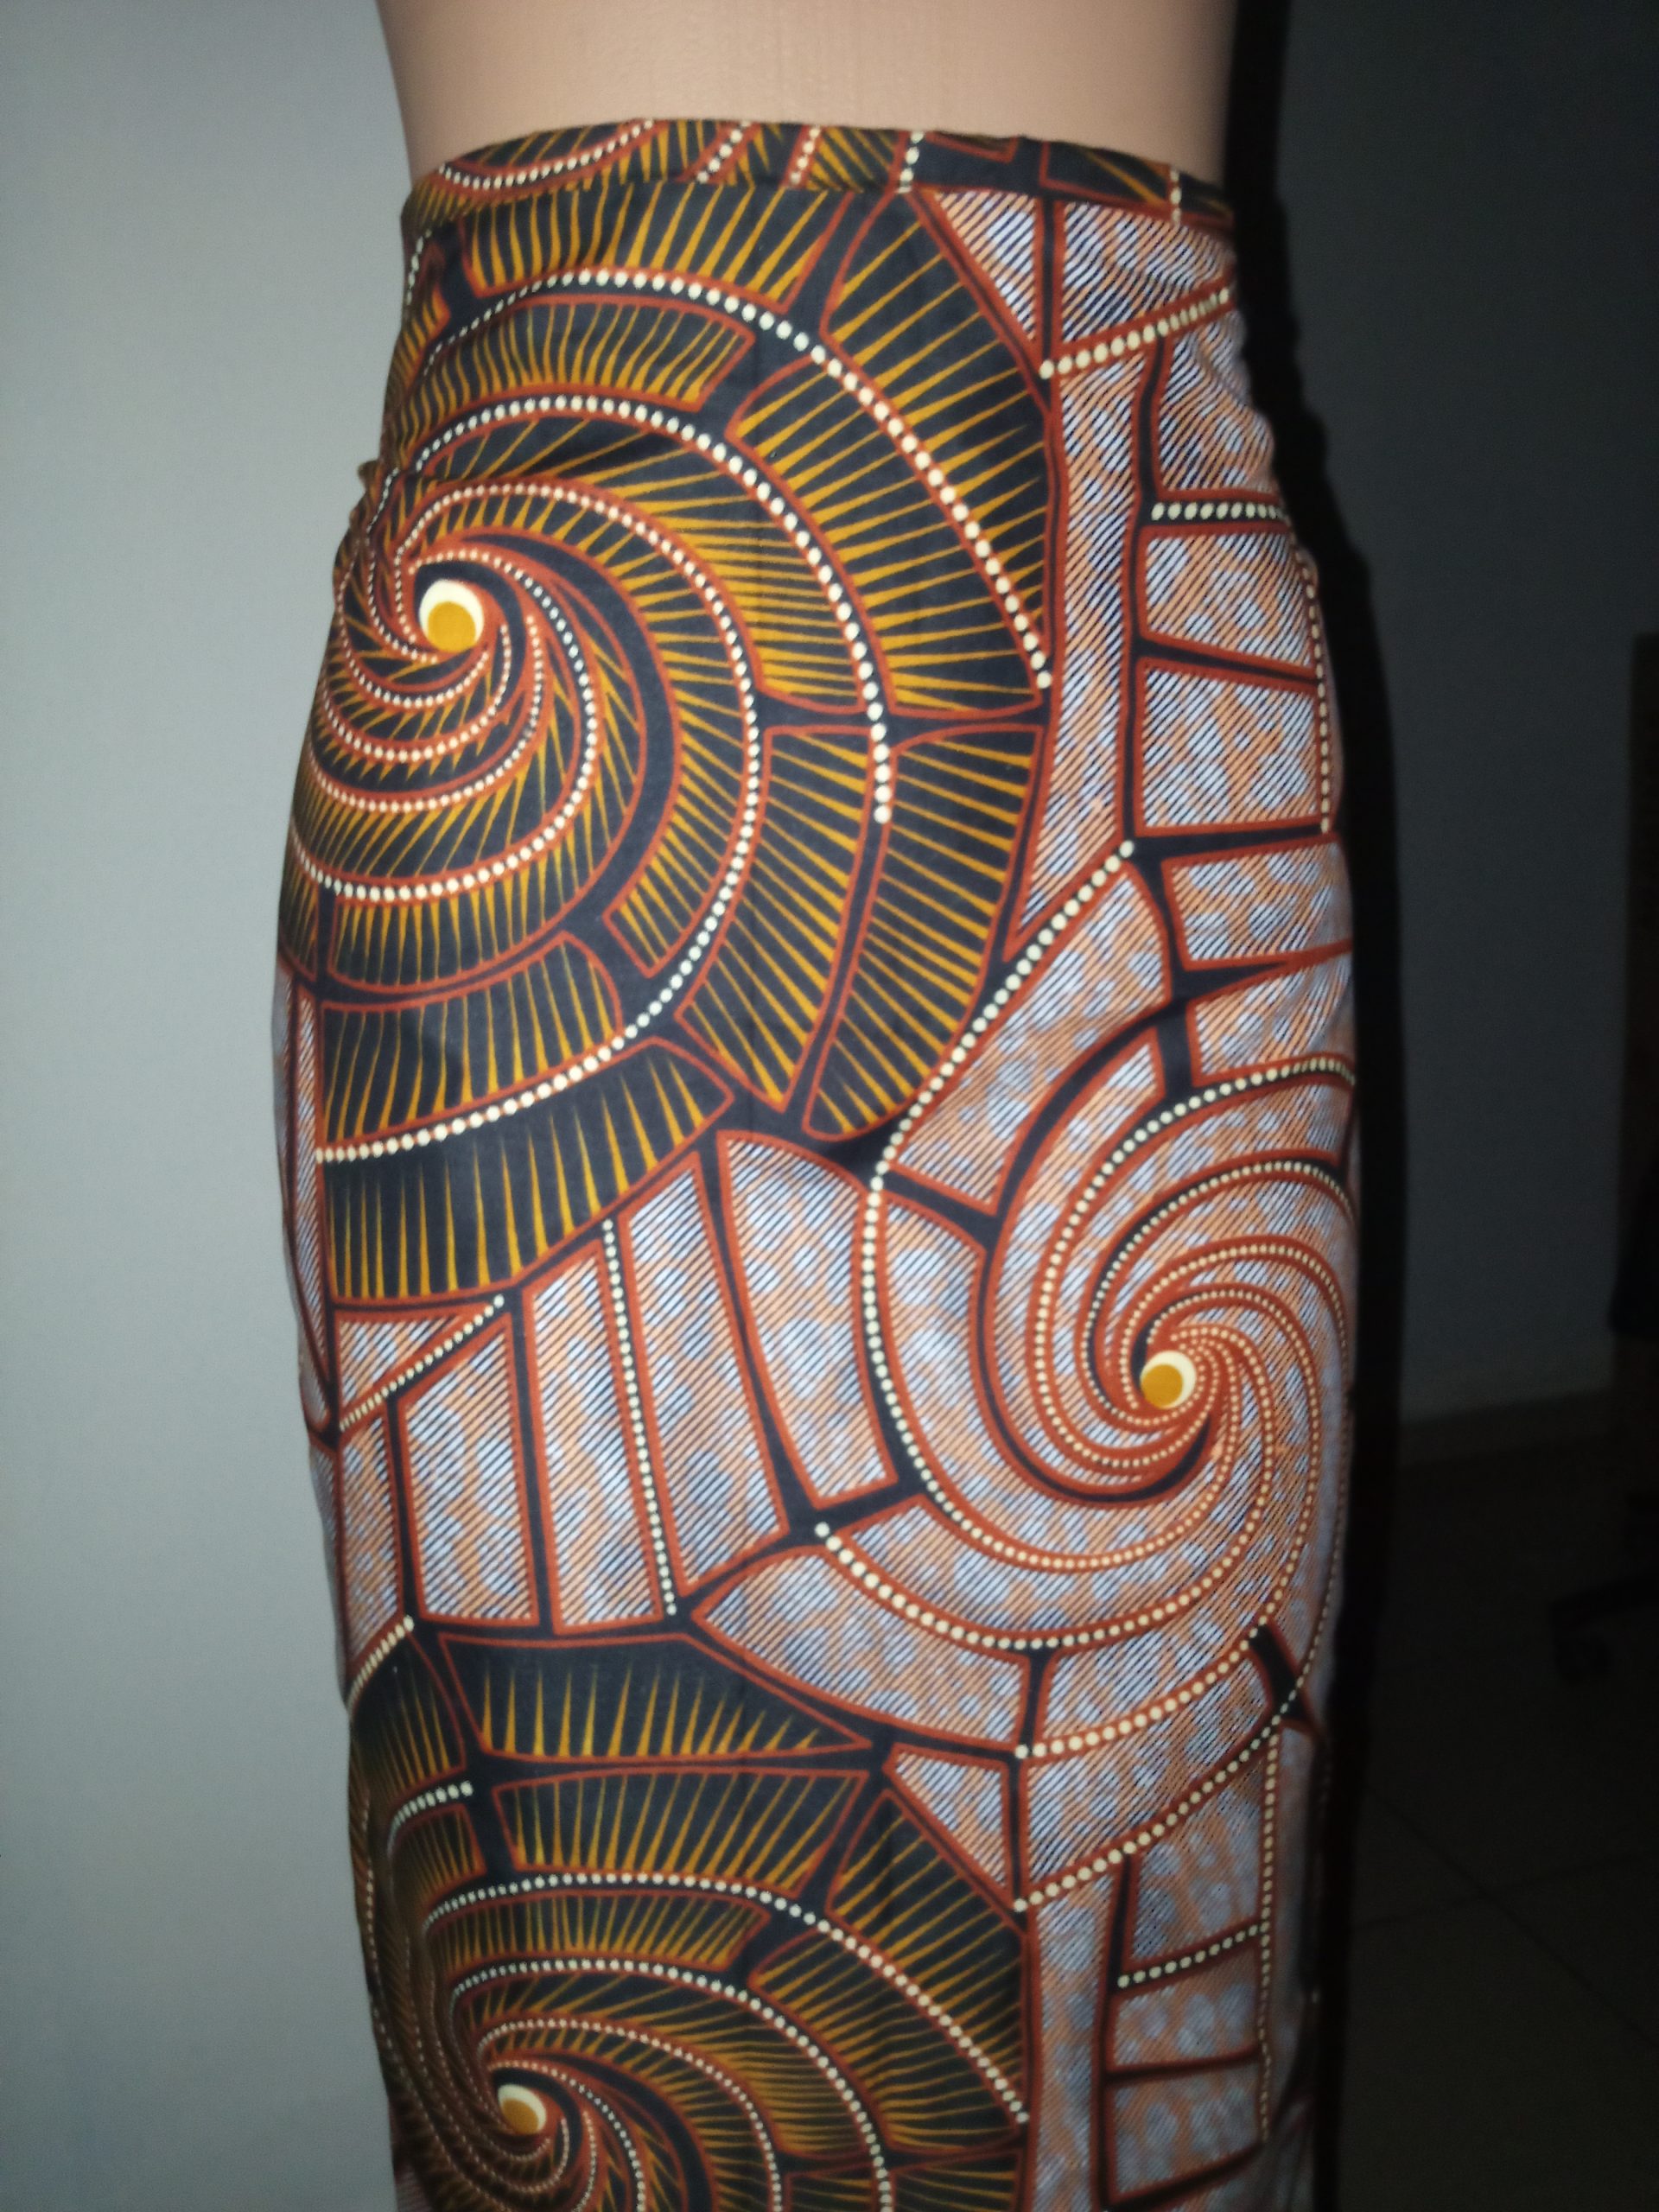
Waist Line
Divide your waist measurement by 4
Add 2 inches for sewing allowance
Hip Line
Divide your hip measurement by 4
Add 2 inches for sewing allowance
Mark these measurements horizontally from the folded edge at the waist and hip lines.
Step 4: Shaping the Skirt (Fitting Lines)
To avoid a sharp or boxy shape and achieve a smooth fit:
From the waist line, come in 1 inch
At the hip line, come in 2 inches
At the knee line, come in 1 to 1.5 inches, depending on how fitted you want the skirt
Connect these points smoothly using a curved line down to the full length.
Illustration note: This curve is shown clearly in the front pattern drawing. To avoid a sharp or boxy shape:
From the waist line, come in 1 inch
At the hip line, come in 2 inches
At the knee line, come in 1 to 1.5 inches, depending on how fitted you want the skirt
Connect these points smoothly using a curved line down to the full length.
Step 5: Cutting the Front Pattern
Once all lines are connected neatly:
Cut along the drafted lines
This piece becomes your front pattern
Label your lines clearly: waist, hip, knee, and full length.
Step 6: Drafting the Back Pattern
To draft the back pattern:
Place the front pattern on the fabric
Allow 2 inches extra at the waist for darts and ease
Extend slightly at the hip for comfort and movement
Cut the back pattern carefully, maintaining the same length and shape balance as the front.
Place the front pattern on the fabric
Allow 2 inches extra at the waist area for darts and ease
Extend the back slightly at the hip for comfort
Cut the back pattern following the same shaping, ensuring balance with the front.
Step 7: Sewing the Straight Skirt
Join the front and back pieces at the sides
Sew the back seam, leaving space for a zipper if needed
Fix the waistband or elastic
Hem the skirt neatly at the full length
Press all seams for a clean finish
Tips for a Neat Finish
Always press your fabric before cutting
Sew with a straight stitch and consistent seam allowance
Test fitting before final stitching
Use interfacing for waistbands for a professional look
Final Thoughts
Learning how to cut and sew a straight skirt is a major milestone in your fashion journey. This project teaches you measurement accuracy, pattern balance, and neat finishing — skills you will reuse in many designs.
At Dinat Signature, we encourage beginners to practice this skirt repeatedly until the process becomes natural. Remember, fashion designing is a journey, not a race. With consistency and patience, your finishing will improve and your confidence will grow.
Remember, fashion designing is a journey, not a race. Practice often, be patient with yourself, and refine your technique with each project.

Dinat Signature
Dedicated to preserving Nigerian artisanal textile crafts while elevating contemporary pattern cutting, couture construction, and fashion education for makers globally.
Discussion & Feedback 0
Ask tailoring questions, share results, or contribute technical advice.
No comments posted yet
Be the first to share your thoughts or questions regarding this masterclass.
Leave a Comment
Join the conversation. All messages are moderated for respectful dialogue.